
Anyway, I commented to Chels how cute that T-Shirt was, and the girl sitting next to me said they were selling some just like it at Forever21. Now I do love Forever21, but I also loves me some FREE s@#$! I thought to myself, you know what self? I'll betcha I can make my OWN fringe shirt for free-ninety-free! And so I did, and I'm sharing my process so that someone else can make a cool, trendy fringe shirt for much cheaper than buying one.
I started out with a cool T-Shirt that had been laying at the bottom of my shirt drawer unworn for a reallllly long time. It's one of those shirts that I loved the graphic, but didn't love the way it fit. Perfect for cutting up! Obviously a plain colored shirt works just as great here.
What you need:
-Shirt
-Scissors, as sharp as possible
-Ruler or tape measure
-Pencil

The first thing to do is decide how high you want your fringe to go up. I did mine about 3-4 inches. Before I started cutting, I took the tape measure all the way across and made tiny pencil marks to kind of guide me. Once you cut your first piece of fringe, that will kind of guide you as well. If you're not sure how high you want your fringe to be, always start with shorter pieces. If it's too short, you can always cut higher.

Then you want to cut off the hem of the shirt at the bottom:

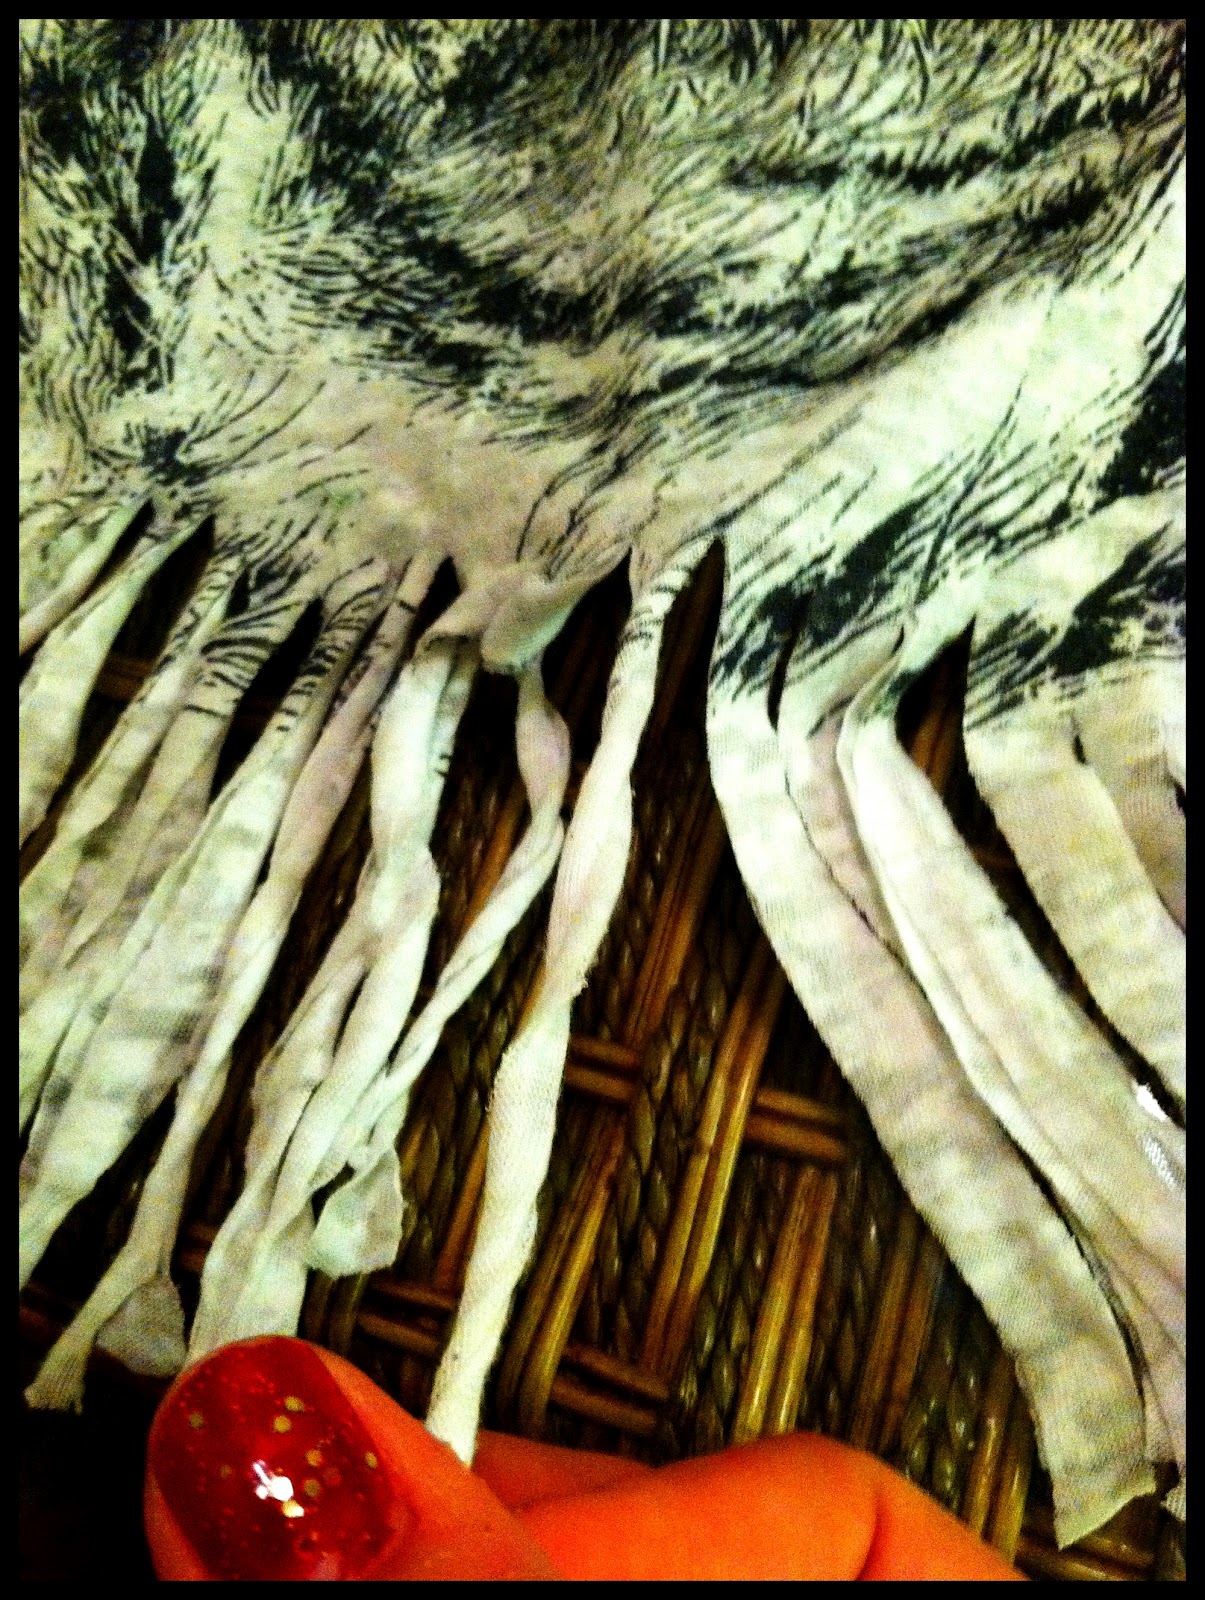
Next, I just started cutting. I started off with fringe pieces that were each about an inch thick, and cut up to where I'd marked off. Don't worry if your lines are not perfectly straight, or if some go up higher than others. Once you're wearing the shirt, you won't even be able to tell.

Once you've cut all the way across with each fringe about equal width, you can eye it and then decide if you want your fringe any thinner. I wanted mine pretty thin, so I cut each inch-thick section into thirds.

I decided I wanted my shirt to have that 'off the shoulder' look, so I cut off the collar. I've found the best thing that works for me when cutting off a collar is to use the front as a guide. Follow the hem with your scissors, and cut both front and back at the same time so you'll get the same look on both sides.
I also cut the hem part of the sleeves off my shirt to give it the same look all the way around.

And there you have it! A sweet looking fringe T-shirt, completely for free!


Goes great with fringe earrings!

I haven't put this shirt on in a whiiile and it's pretty tight on me, so I have a feeling I'll be retiring in again in a month or so til baby p gets here!

I'll totally be doing this to all my old reject shirts that I have in the bottom of my drawers! It's like getting new clothes and paying nothing for them!
From junk to treasure!!
xoxox
cuteness!!!
ReplyDeleteThanks for the tips. I will have lots of fun doing the same thing to my run down old style shirts. Thanks so much for posting! Btw I love ur style
ReplyDelete